HOW TO MAKE A DIY AZORES INSPIRED FACE MASK TO HELP PREVENT THE SPREAD OF THE VIRUS
Ever since I moved to the Azores I was striving to lead an even more environment conscious life than ever before. I am surrounded by so much beauty, I simply cannot destroy and contaminate this wonderful place. When I got back home to the Azores in early March 2020 there were already some safety measures in place in Europe, but they were nowhere near as strict as they are today with all the social distancing and closed borders. Even the price of face masks was acceptable. The reason I know this is that for the last 5 years I have always been flying wearing disposable face masks. But once I have seen the photo of all the discarded single-use face masks ending up as ocean rubbish and how face masks are now in high demand (and as such are outrageously priced, if available at all) I started looking for alternatives.
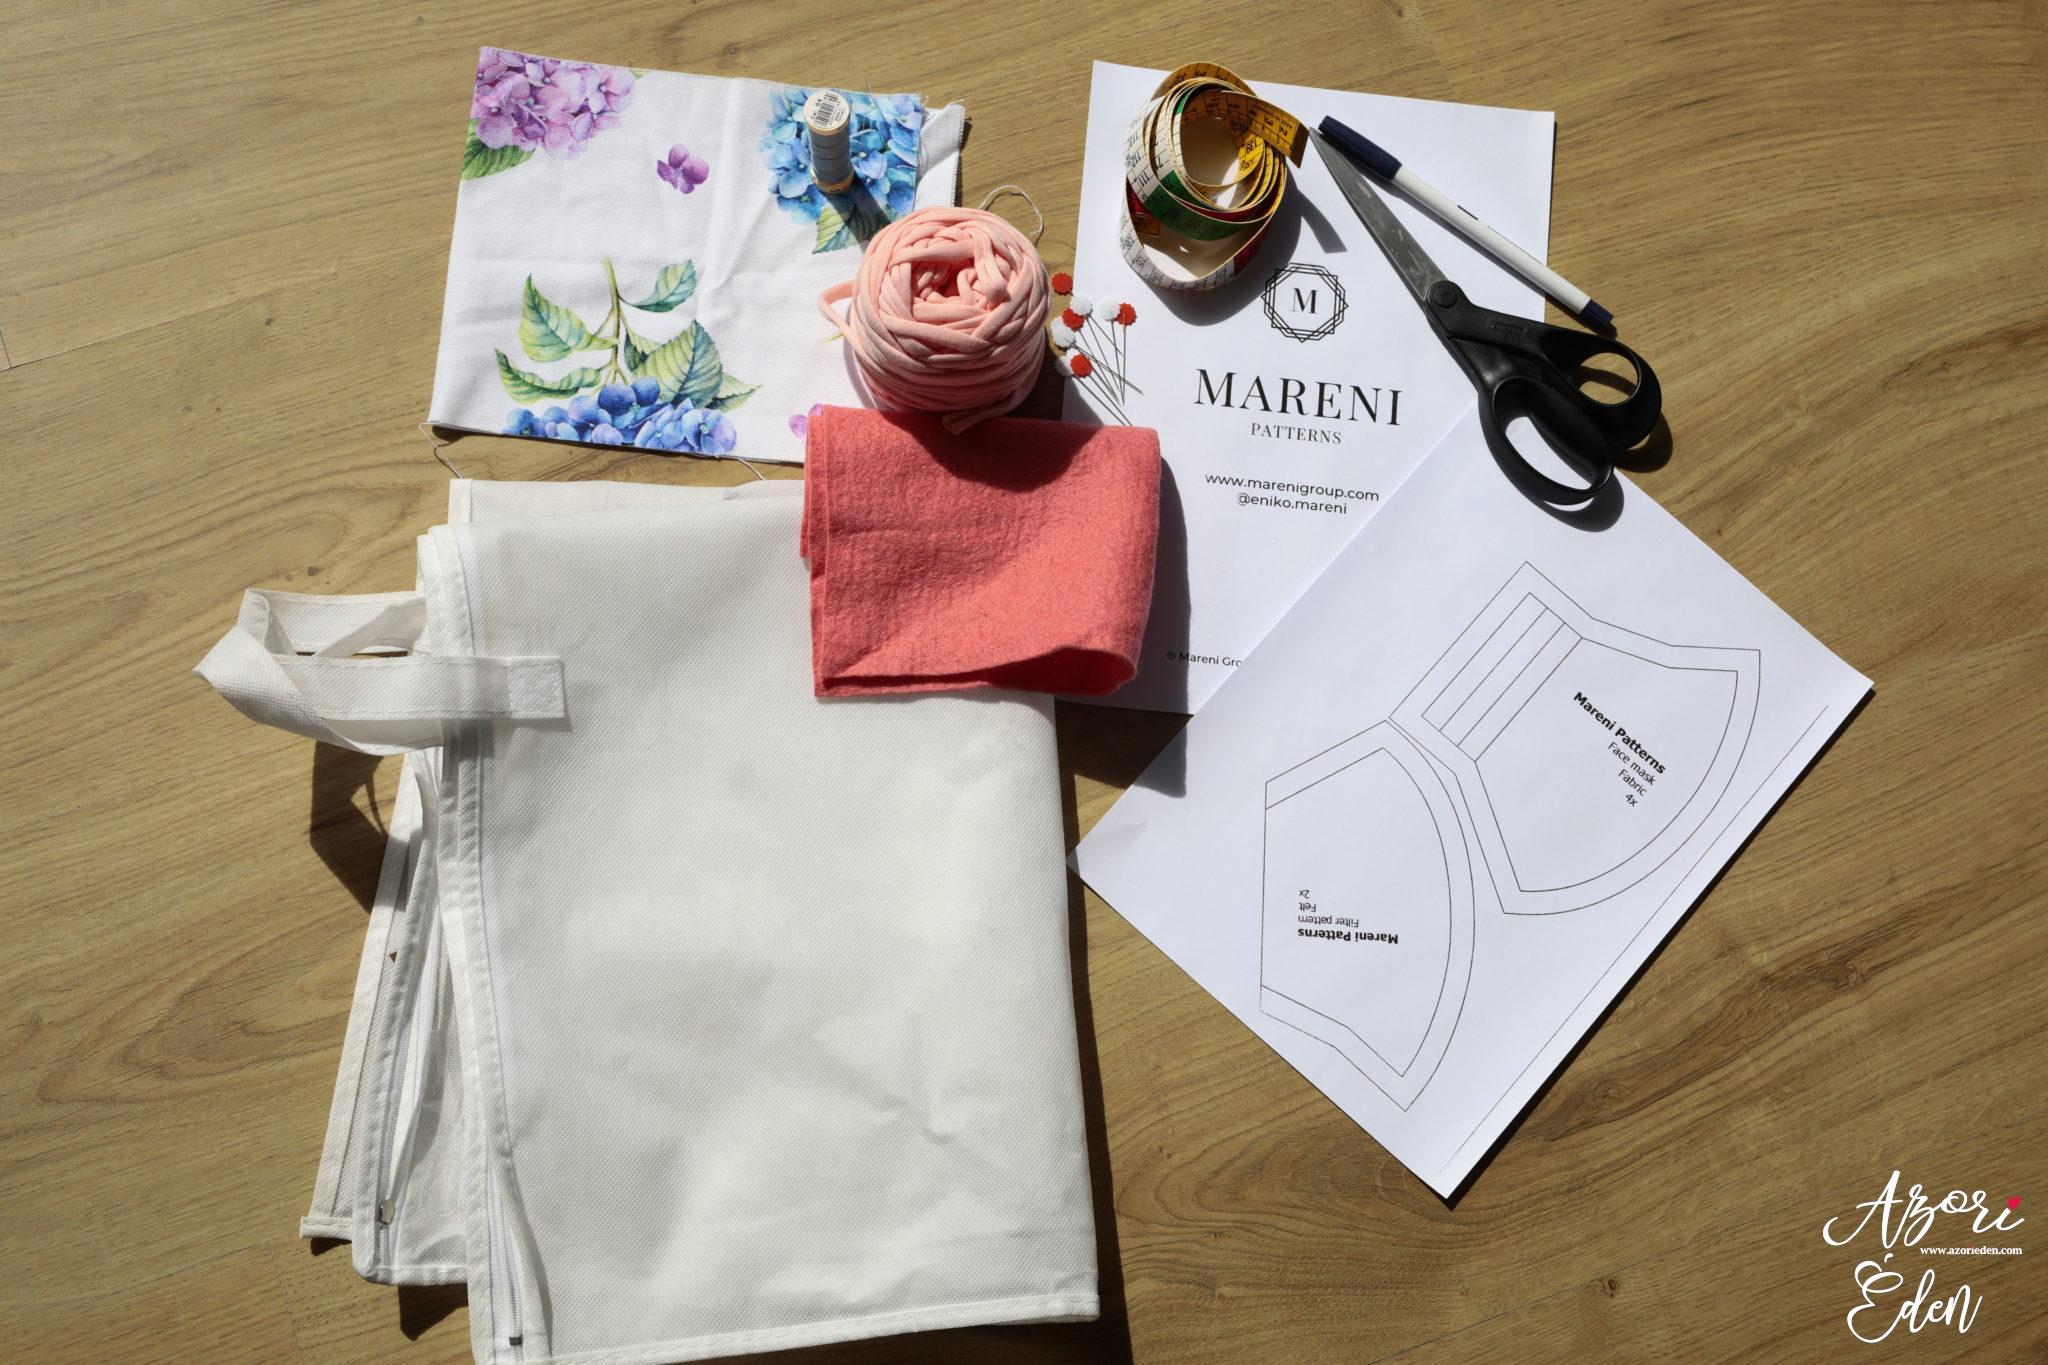
I have always considered myself a very creative person who loves a good DIY project, but due to my very busy schedule I barely found the time for such endeavours. These virus-stricken days unfortunately I don’t have much to do, so I decided to put this freed up time to good use. Therefore, yesterday I hand-made a machine washable, reusable, multi-layered face mask! Lots of people write that home-made masks don’t protect you from the Corona virus. Of course I don’t think my DIY face mask is equally good as a surgical face mask and that it provides a 100% protection from a virus that spreads via respiratory droplets. However, I feel much safer wearing this face mask while out shopping and talking to the sales staff. Moreover, this DIY face mask has a felt layer (filling) which functions as a kind of filter and most importantly this mask stops me accidentally touching my face and mouth. So when I came up with the idea of creating a DIY face mask I also thought why not making it a little bit stylish and since I live on the Azores maybe it should have an Azores-inspired pattern. Since I self-quarantined myself I did not go shopping to an arts & crafts store, but used the fabrics and supplies I found at home.

- The first step was to find a sewing pattern. Of all the instruction videos I watched online I liked that of Eniko Mareni the most. So first of all a HUGE thanks to Eniko, for creating such a wonderful product. I also recommend that you check out her website and the online clothes making courses of the Mareni Academy. I wish I had a sewing machine! By the end of the quarantine I could make lots of beautiful things inspired by this website. So the first step is to download the sewing pattern from here.
- Then I proceeded to watch the instruction video (scroll down for the video), and started to locate fabrics I can use for this project. I had a bit of luck: due to a machine sewing course I recently attended on Sao Miguel I had scraps of fabric at home, even some with hydrangeas. In the video Eniko uses a very special fabric for her face mask, and I tried to find something similar. I decided upon using one half of an old pillow protection bag for the inner side of my face mask. In the video it is mentioned that felt fabric can be used as filter between the outer and inner fabric sides (again, this is not the same as the filter in surgical face masks, but it adds an extra layer), and I clearly must have been on a lucky streak because I also found some felt scraps.
- I had a 20 cm wide fabric which I folded two times. Based on the bigger pattern in the sewing pattern I cut 2 pieces from both the hydrangea fabric and the pillow protection bag fabric. Based on the smaller pattern in the sewing pattern I cut 2 pieces from the felt fabric (please excuse my sewing vocabulary, I am new to this).

Cut 2 – 2 pieces of the materials. Use the sewing pattern. 
Cut the pieces according to the sewing pattern
- Then I hand-sew the double layered fabrics at the mouth and nose part – according to the sewing pattern (with a machine it would have been done in seconds, but by hand it took me quite some time). Then I made a V incision, which will be useful when turning the mask outside in. Then I sew both sides. First I did not understand why this step is necessary, but otherwise there would be too much overlapping fabric in the mouth area, which makes the mask less roomy and also not very pretty.

Sew the pieces together. 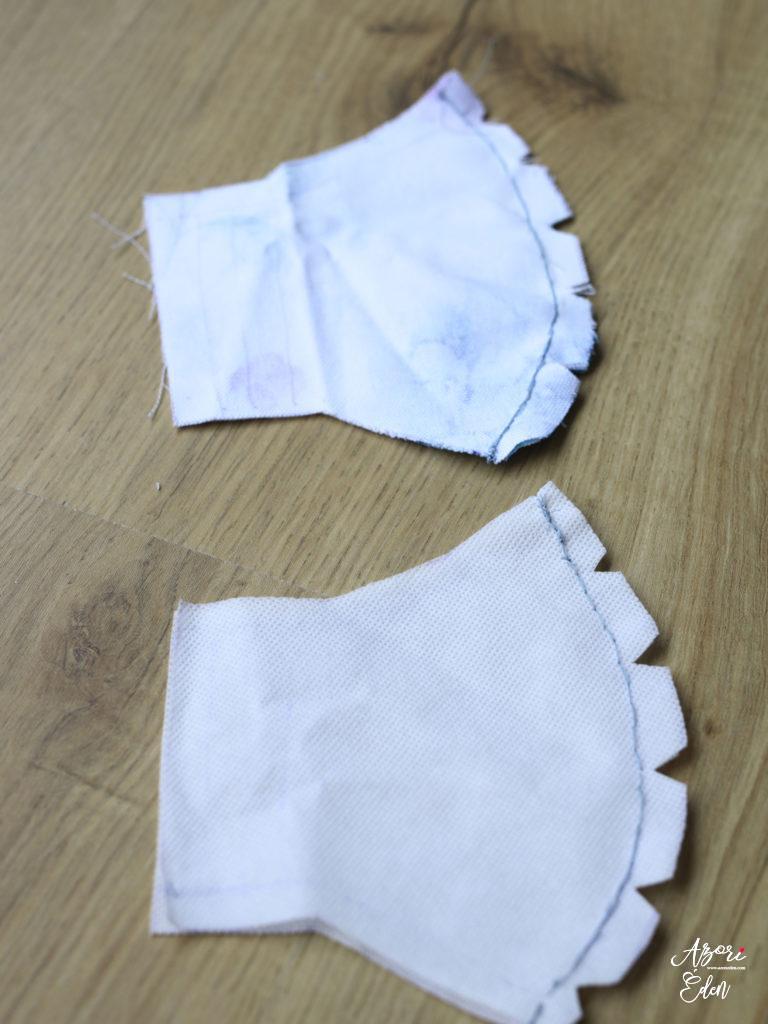
Sew the curve part of the pieces together and cut as you see in the picture.
- Then I sew the inner and outer parts together facing each other (meaning hydrangea patterns facing down), except on the side. I turned my creation inside out. At this stage I already knew it will be a very successful DIY.
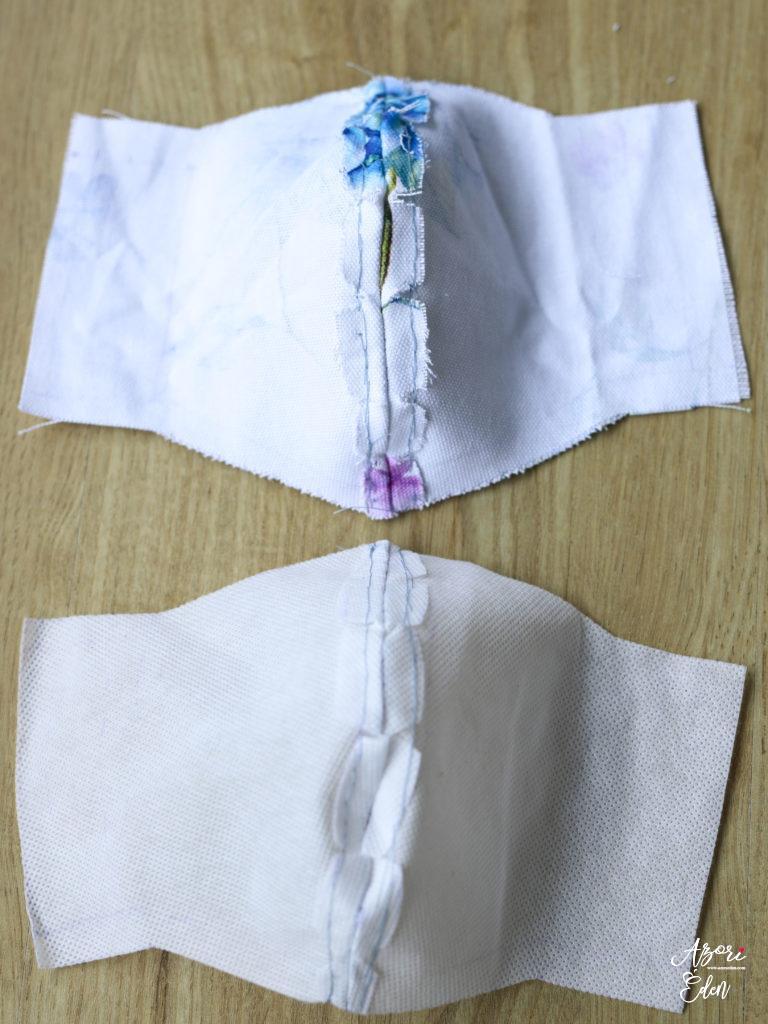
Sew the two pieces together. 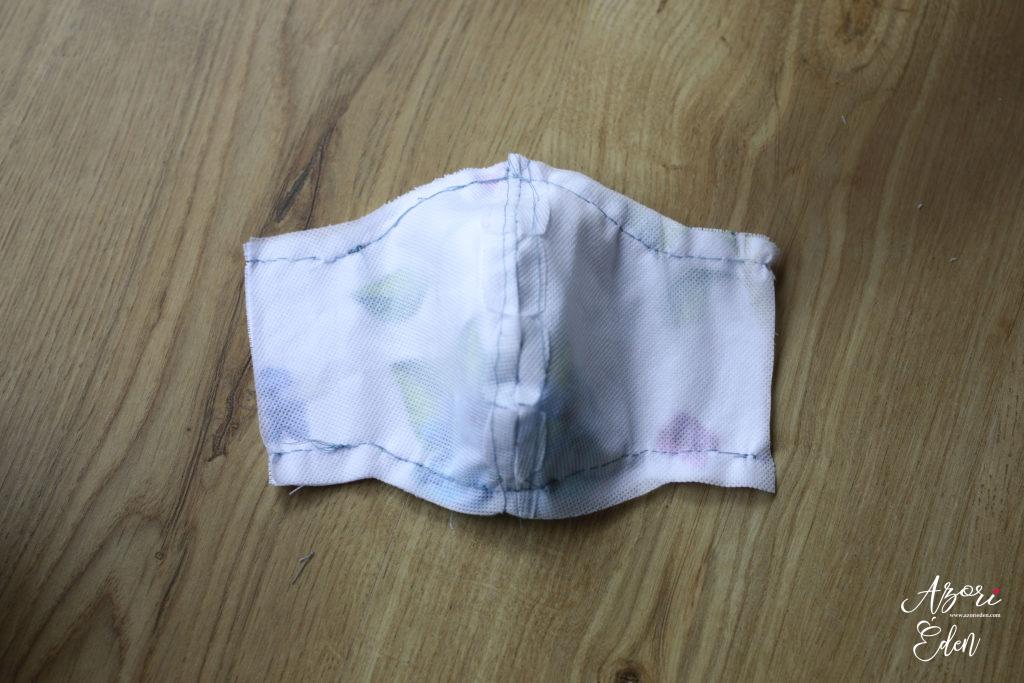
Sew the two pieces together.
- I finally sew the 2 layers of felt fabric together, and first thought about fixing it between the inner and outer layers. Eventually I decided to cut it to size and just slip it inside between the two layers.

- I was looking for some elastic band but could not find any, so I used 2 pieces of 2x40 cm strips of pink T‑shirt fabric.
- I put the ends of the pink T‑shirt stripes inside the mask and sew the both sides of the mask completely.
- Finally I adjusted the length of the pink stripes. The face mask is very comfortable, and provides good cover for my face, and it also fits very nicely on the nose. The mask can be further enhanced with a wire reinforcing the nose part for a tighter fit, but I don’t think it is necessary as the sewing pattern is perfect as it is.

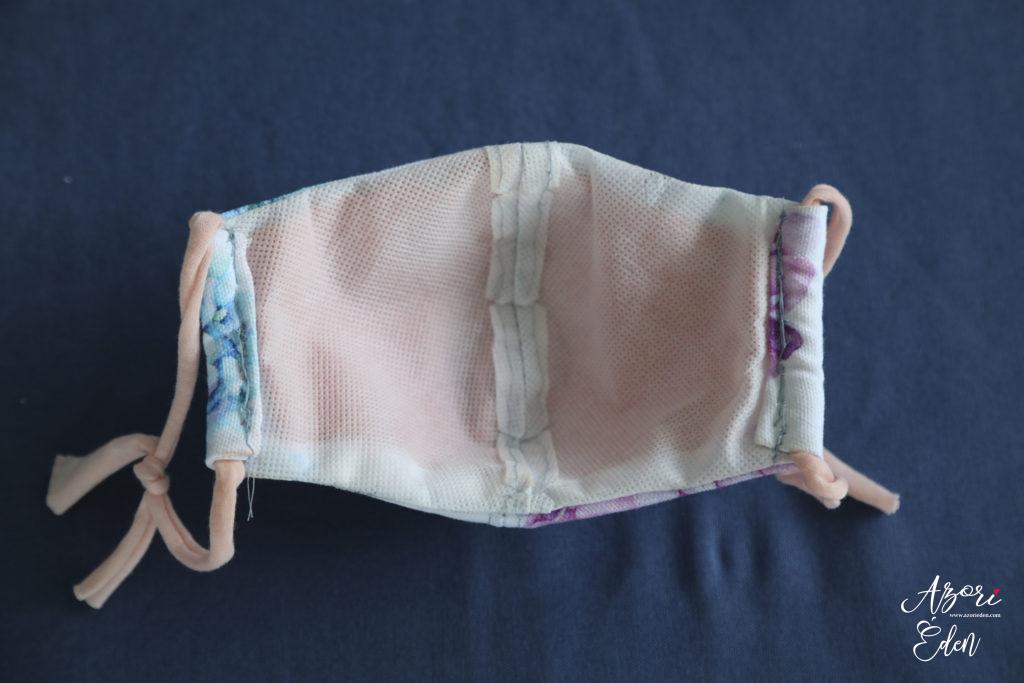
My mask inside 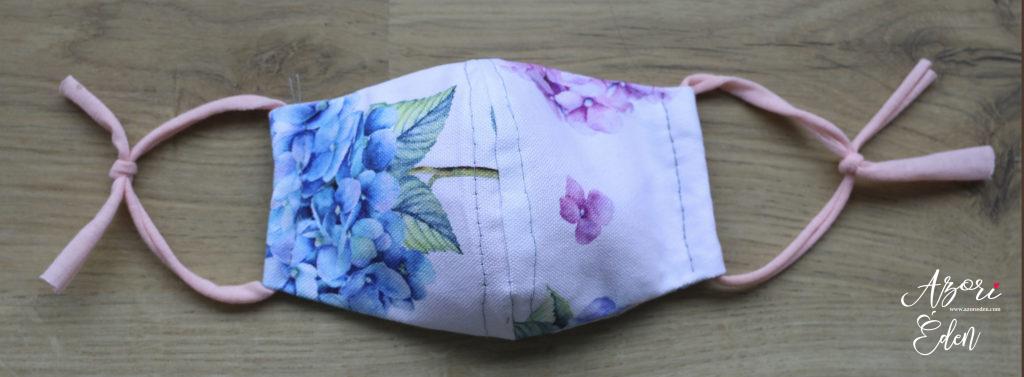
Ready! 3 layer, machine washable, comfortable. 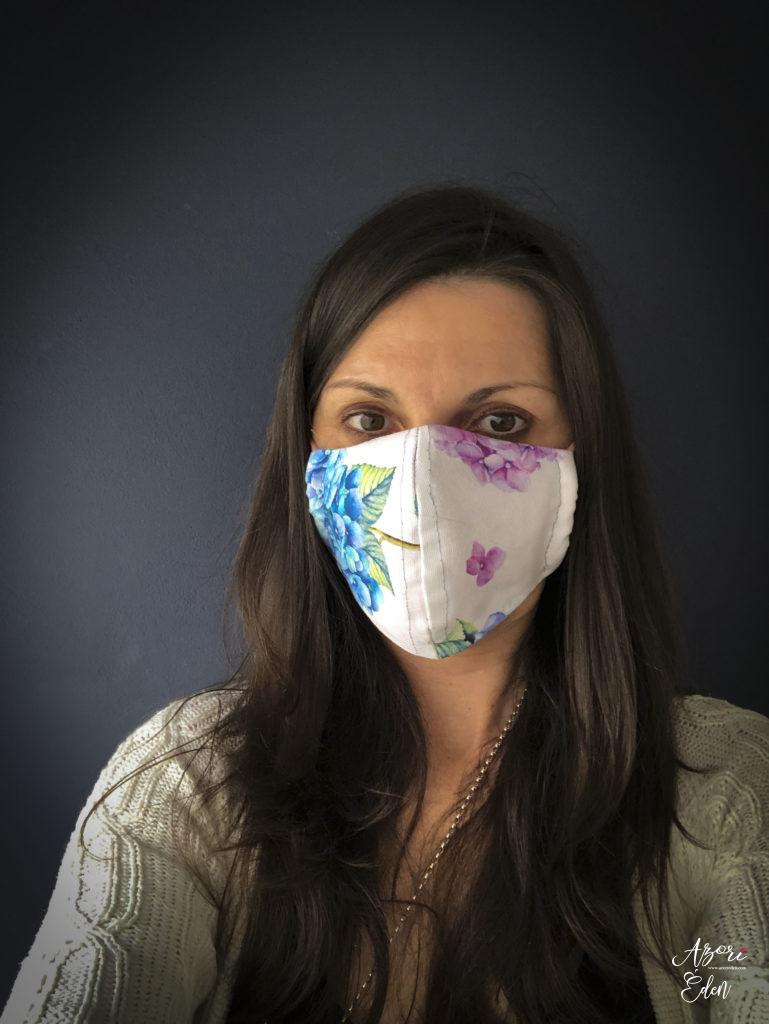
I am using my new mask. 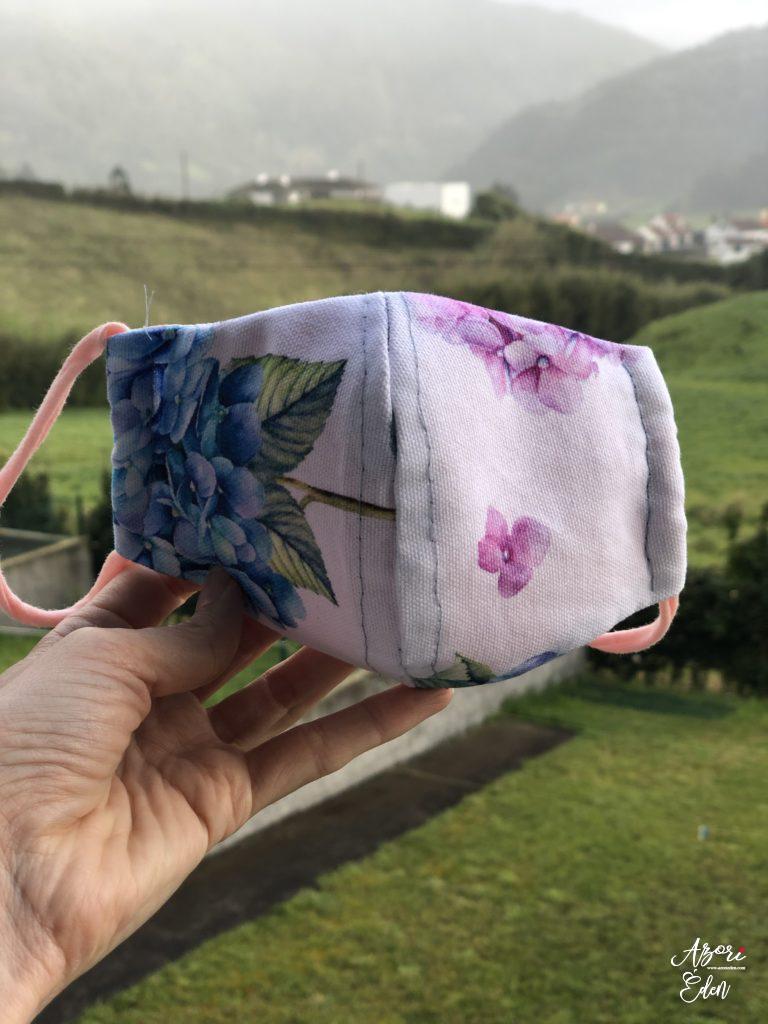
Very useful product in this period.
You will have much fun completing this DIY. Take care of yourselves and others. Thank you Club Mareni for the inspiration.
DIY Face Mask by Mareni: https://www.youtube.com/watch?v=_0XplYDeHt8
I would love to see your DIY masks based on the video and my description. Please let us know your thoughts in the comments, and also future DIY ideas (or anything, really) that you would like to read about.
For the latest news follow us on the Azori Éden Facebook page. For more inspiration and beautiful photos check out the Edenazores Instagram, and for comprehensive posts of course the www.edenazores.com blog.
